
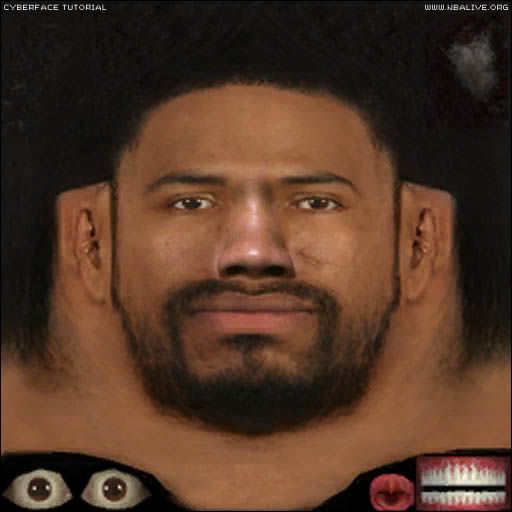
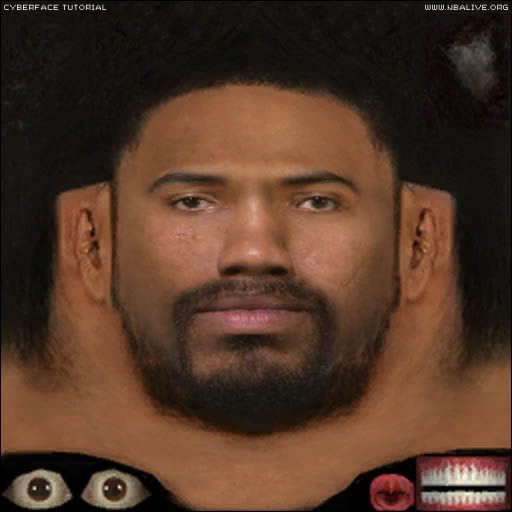
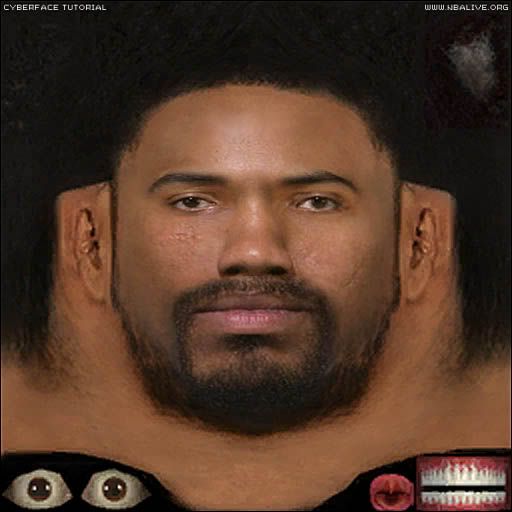
Step 1: First, if you're making a player update of present NBA LIVE player, use his bhed as a base for your work. List of player's fshs can be found at ... /NBA LIVE 2005/sgsm/players/plyrface.viv. Extract fsh of player you want and open it with FshX tool. Go Texture> Export> Save as type> bmp >and name the file whatever you want. If you want to create a new player, use fsh of player who's the most similar to one you're about to create. In this tutorial I'll use Rasheed Wallace's 512x512 bhed.
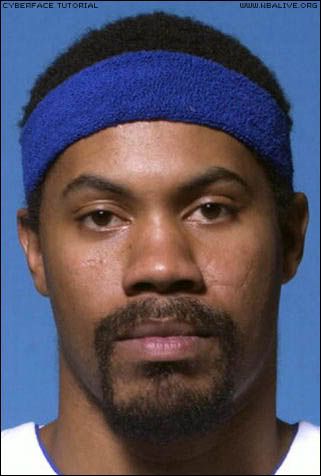
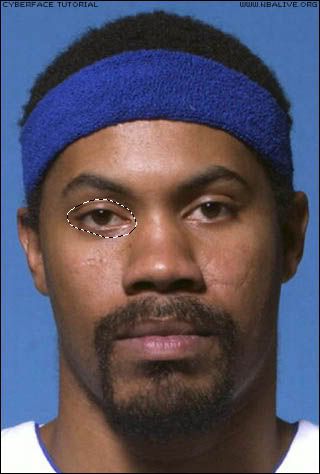
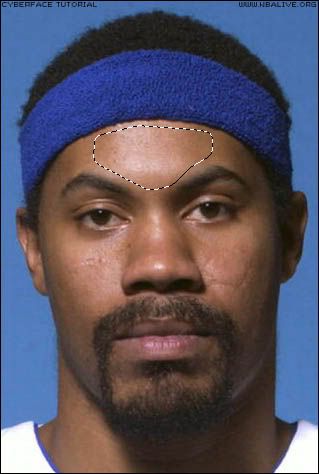
Step 2: Once you have a bhed you'll be working with, you'll be needing a useful picture which will be used for, example, Rasheed Wallace bhed. The best picture for cyberfaces is a headshot, without any shadows and if it's possibe without a person's smile. I'll use this Rasheed Wallace's picture.
Step 3: Now, we are starting to make a cyberface. Enter Photoshop and select Polygonal Lasso Tool
 and use this settings
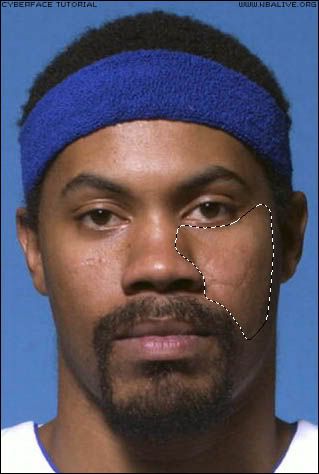
  . Open bhed and picture you're already have. Make a selection around nose like this. Go, Edit> Copy and do Edit> Paste to the bhed. Use Edit> Free Transform to make layer biger or smaller and position it over existing nose. You should get something similar to this. Now, it's time to blend layer with the bhed. Go to Layer> Layer Style> Blending Options. Lower opacity to around 65%.
Step 4: We're are advancing to the next step. Still using Polygonal Lasso Tool
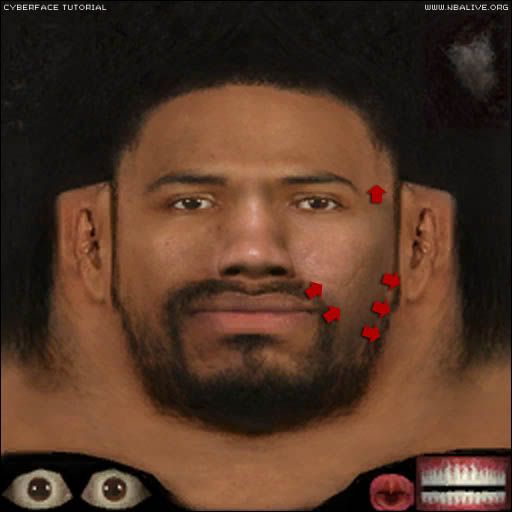
with same settings.You should make a selection around his cheeks. Result should be like something I've got. Go to Edit> Copy and Edit> Paste to the bhed. Position it on the right side of the face and use Edit> Free Transform if it's needed. Lower opacity to around 65% as well. It should look like this. Now select Smudge Tool
 from the toolbar and use these settings. Use this tool to smudge the edges of the "cheek layer" in these directions.
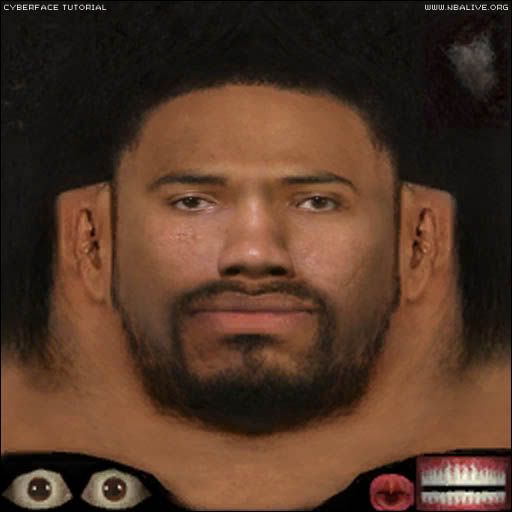
Step 5: Repeat Step 4 but use other cheek from the picture and bhed. This is how's that suppose to look. Now, select Burn Tool
 using this settings. You're probably already noticed that the left side of the face is lighter then the right one, so we're going to fix it. Using Burn Tool, go over the left cheek to make it darker and this is the result you should get.
Step 6: Now, you need to select and copy the eye area from the picture and paste it to the bhed. Using Free Transform resize and make it fit the eye from the bhed. Repeat the procedure for the the other eye too. Result should be close to look like mine. Lower opacity to around 65%.
Step 7: Again, you're using Polygonal Lasso Tool
and now selecting eyebrows. Paste them to the bhed, use[color] Free Transform[color=#66809B] and put them over existing ones. Lower opacity again to about 65%.
Step 8: There's two more areas to be selected and pasted to the bhed. Mouth and the forhead. Using Polygonal Lasso Tool
[color=#66809B], select area around mouth like this. Paste to the bhed and, again, using Free Transform resize it to fit the original mouth and chin. Just like I did with this one. Go to Layer> Arange> Send To Back. Select Eraser Tool  and delete parts of the layer which are not necessary. Lower opacity here too. Here's what I've got.
Step 9: Now the forehead. Using Polygonal Lasso Tool
again, select forhead area. Lower opacity and use Smudge Tool using these settings, smudge a little over edges and this is the result you should have after.
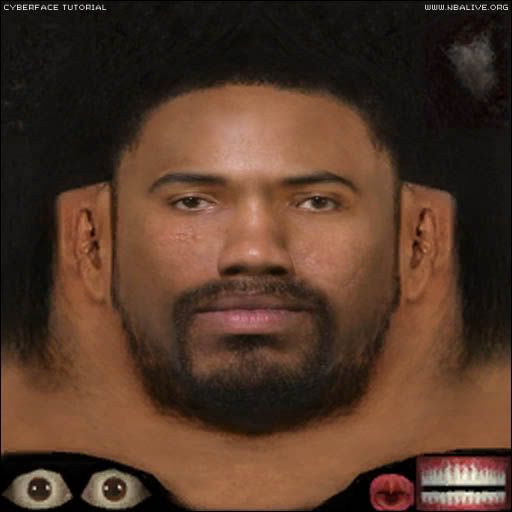
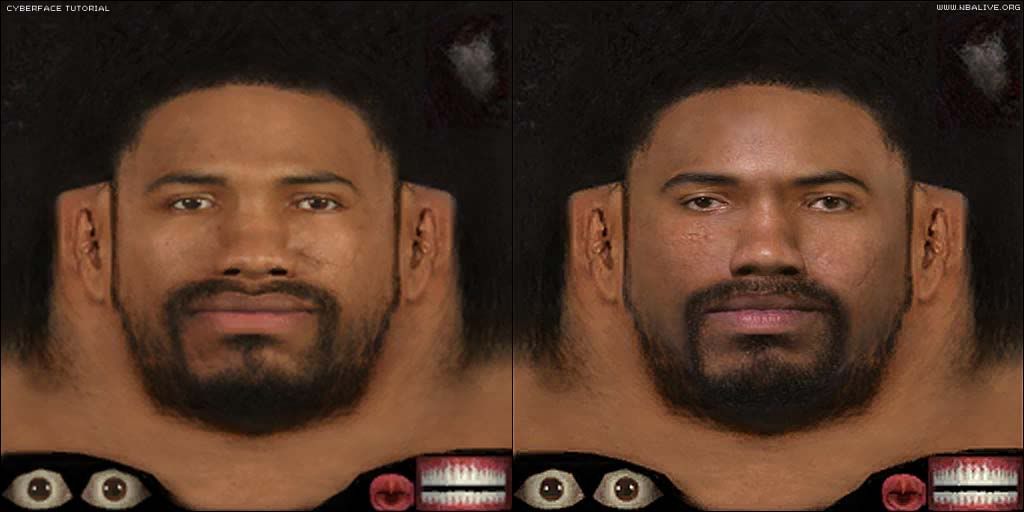
Step 10: Now the sharpening part. But before doing that, you need to have all layers merged. Go to Layer> Merge Visible. Now, go to Filter> Sharpen> Unsharp Mask and put these values in to boxes. Click OK. Now, once it's sharpened, some minor adjusments need to be done. The face part of the bhed is little more lighter then it should be. Again, select Burn Tool
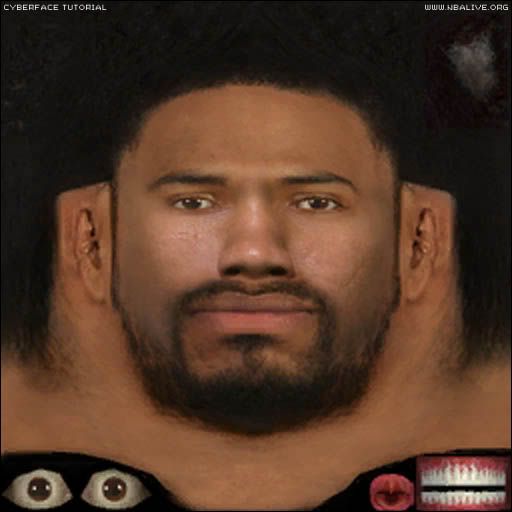
and slightly overshadow the face. Here's the result.Finaly, we can compare the original bhed and the one we did using Rasheeds picture.


