
Lean's Graphics Gallery: Star Wars Model Kit Comps

- shadowgrin
- Doesn't negotiate with terrorists. NLSC's Jefferson Davis. The Questioneer
- Posts: 23230
- Joined: Thu Dec 12, 2002 6:21 am
- Location: In your mind
![]() by CKal on Thu Jun 05, 2008 11:03 am
by CKal on Thu Jun 05, 2008 11:03 am
Jerseys... are his specialty? 
Nice, clean work there Lean.
Nice, clean work there Lean.


My J.U.M.P. 08
Do not download files for other games on my FileFront page
Go to the Live 08 Directory instead
My PES6 Aston Villa Master League
-

CKal - Posts: 998
- Joined: Sun Mar 30, 2008 1:23 pm
- Location: Hong Kong
![]() by shadowgrin on Thu Jun 05, 2008 11:28 am
by shadowgrin on Thu Jun 05, 2008 11:28 am
^ You sir, are not fit to be a Jedi.
Lean knows what I'm talking about.
Lean knows what I'm talking about.
- shadowgrin
- Doesn't negotiate with terrorists. NLSC's Jefferson Davis. The Questioneer
- Posts: 23230
- Joined: Thu Dec 12, 2002 6:21 am
- Location: In your mind
- shadowgrin
- Doesn't negotiate with terrorists. NLSC's Jefferson Davis. The Questioneer
- Posts: 23230
- Joined: Thu Dec 12, 2002 6:21 am
- Location: In your mind
![]() by Lean on Mon Jun 09, 2008 12:16 am
by Lean on Mon Jun 09, 2008 12:16 am
So because of my bum-ness, here is the partial thingie of this Jedi guy, who resembles me for unknown reasons:
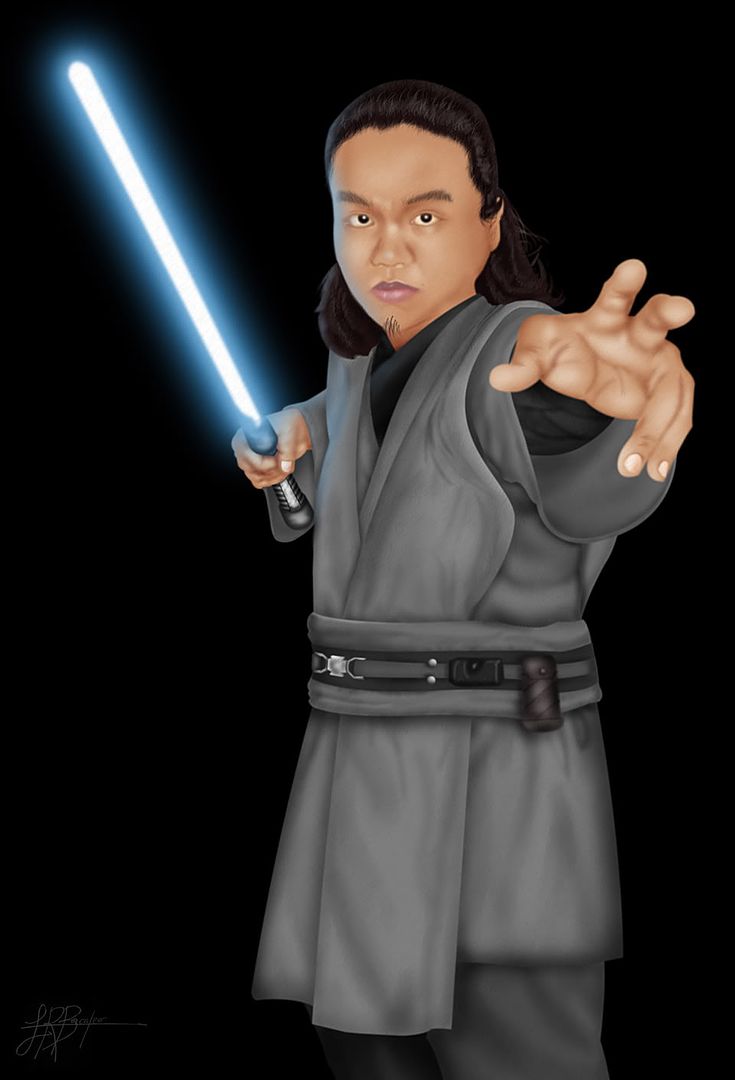
I still don't know what to do with it though, could become my wallpaper perhaps. More adjustments to be done.
I still don't know what to do with it though, could become my wallpaper perhaps. More adjustments to be done.
-

Lean - The Artist Formerly Known as Crappystuff

- Posts: 7775
- Joined: Mon Nov 13, 2006 8:49 pm
- Location: Pilipinas
![]() by deihatein on Mon Jun 09, 2008 12:26 am
by deihatein on Mon Jun 09, 2008 12:26 am
It resembles you because it was you.
Anyway top notch work Lean. You could change the wallpaper though and maybe add the Princess(forgot the name) that is one the Star Wars I-III saga or maybe Yoda. 
There are some guy that have the same avatar and sig like you and a Laker bandwagoner.. I dont like it when i see that because it like ruin the original one who first make it and maybe because of the Laker thing
Anyway top notch work Lean
There are some guy that have the same avatar and sig like you and a Laker bandwagoner.
shadowgrin wrote:Quick question: who is better in basketball, a black dude or a pinoy dude. If you thought or considered for a moment that it's the black dude then you're also a little bit racist.
End of any racist discussion.
Pinoy > Dallas Mavericks
-

deihatein - Like he never left!
- Posts: 3879
- Joined: Fri Jan 26, 2007 9:13 pm
- Location: Pilipphines


![]() by Lean on Tue Jun 10, 2008 10:19 pm
by Lean on Tue Jun 10, 2008 10:19 pm
Yes that's me alright. In fact, this is the photo I based it from:
BEHOLD THE ALMIGHTY UMBRELLA!!!111ONE
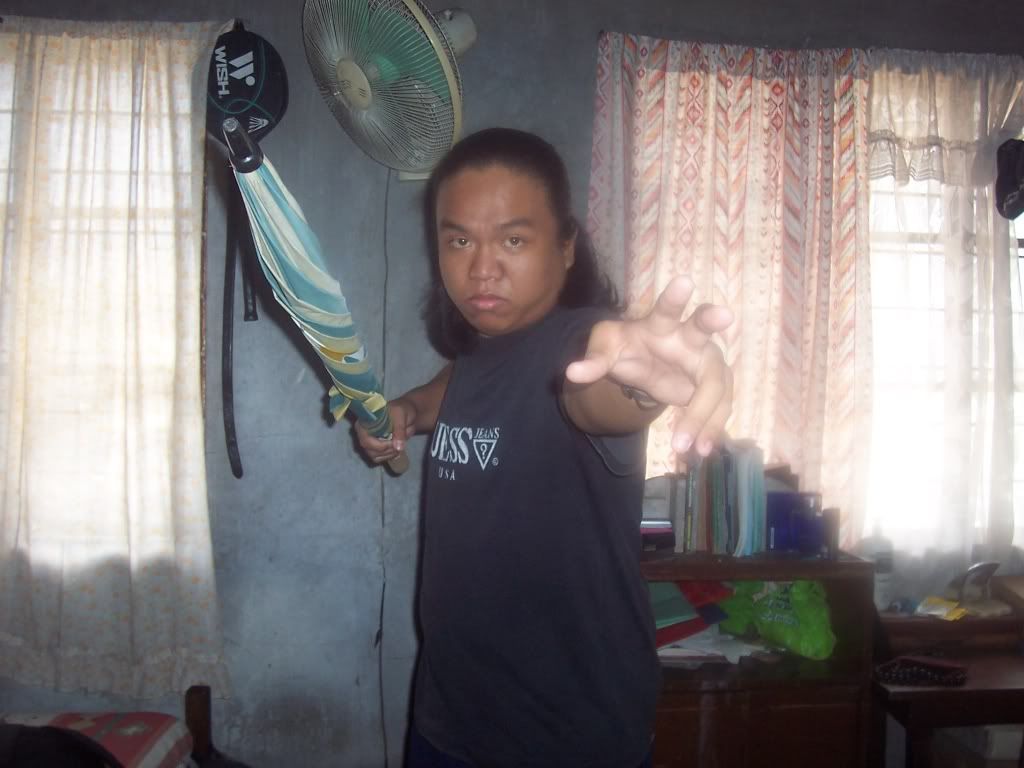
 Boredom at its finest.
  Taken last January (2008) before I had my haircut for the thesis defense. I did this though I don't know what for.
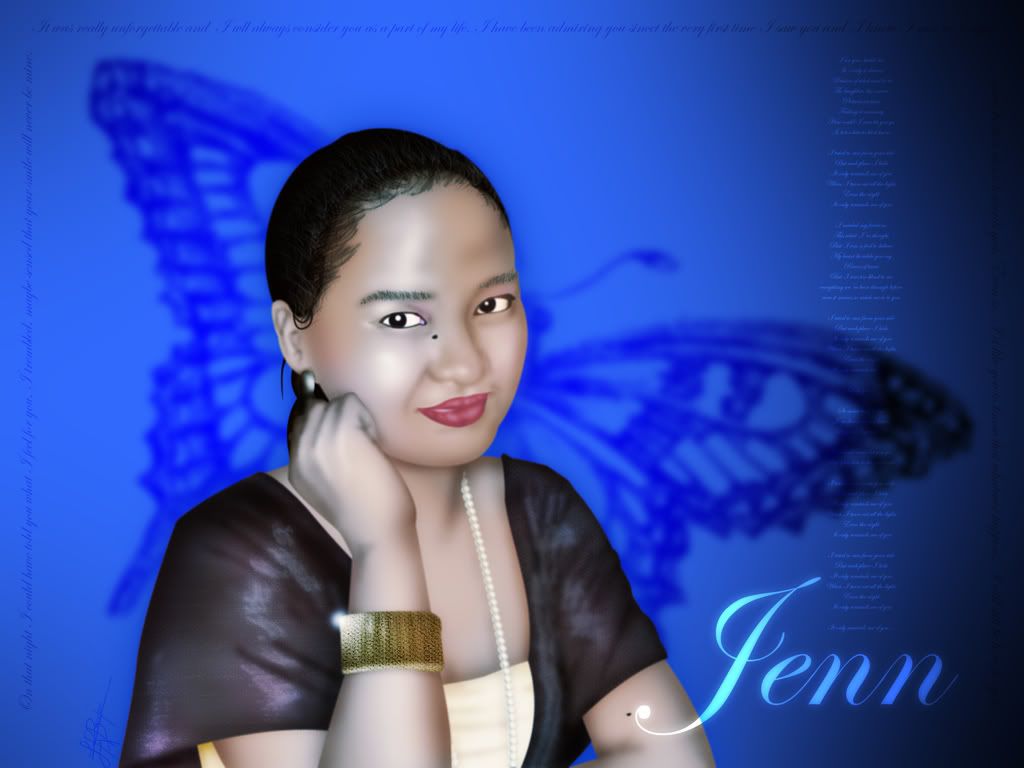
Meanwhile, this is the wallpaper finished product of this recent work of mine:
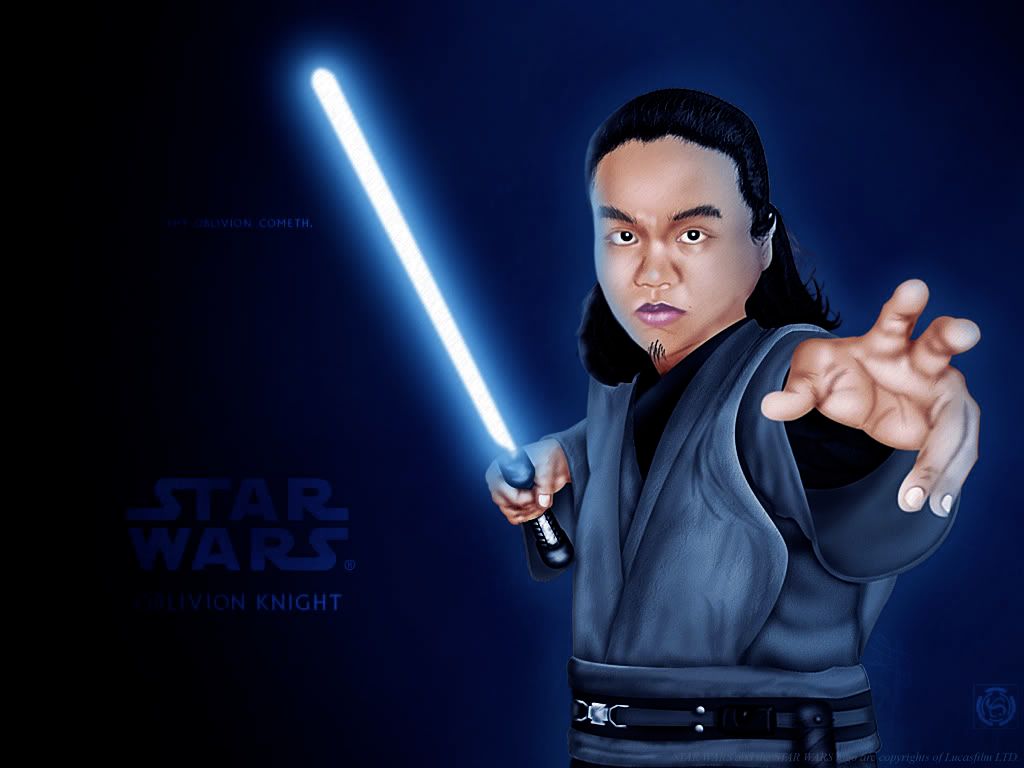
BEHOLD THE ALMIGHTY UMBRELLA!!!111ONE
Meanwhile, this is the wallpaper finished product of this recent work of mine:
-
Lean - The Artist Formerly Known as Crappystuff
- Posts: 7775
- Joined: Mon Nov 13, 2006 8:49 pm
- Location: Pilipinas
- shadowgrin
- Doesn't negotiate with terrorists. NLSC's Jefferson Davis. The Questioneer
- Posts: 23230
- Joined: Thu Dec 12, 2002 6:21 am
- Location: In your mind


![]() by Lean on Sun Jun 29, 2008 5:53 pm
by Lean on Sun Jun 29, 2008 5:53 pm
Kris, I thought you're from Eidos.
Thanks for the comments, Pat, though I don't know where to print that second picture as I really intend to give it to that girl (she's a real person, used a photo of her as base and turned into something like that).
Now for the sell-out. Without any pics, here's how I did both the Jedi Guy and the Painting Girl:
1. Open a photo. The higher the resolution the better.
2. Create a new layer over it, and get the Pen Tool. Select the Shape Layer option. (refer to the Painting Girl as example) I traced the headshape first (the hair excluded), I mean the entire head.
3. Rasterize the Shape Layer and give it a Gaussian Blur of 1 pixel.
4. Then I used the Burn Tool to bring in some shades. (EDIT) What I did here is set the opacity of the Head Layer to 0% so that I'll see my base pic and have the base pic as guide in my shading. Use Midtones only. Set the Exposure to 10% so that the shading won't be too cheesy.
5. Use the Dodge Tool to give the image highlights. Use Midtones and set Exposure to 10%.
6. Do until all parts are done. Simmer your PSD file for 10 minutes.
What I did there is to include my signature in the finished product to make it more painting-like. The Painting Girl took only a few hours while the Jedi Guy took me a week since I'm still thinking on how to do it.
-
Lean - The Artist Formerly Known as Crappystuff
- Posts: 7775
- Joined: Mon Nov 13, 2006 8:49 pm
- Location: Pilipinas
![]() by shadowgrin on Sun Jun 29, 2008 8:23 pm
by shadowgrin on Sun Jun 29, 2008 8:23 pm
Lean wrote:
That one looks like the poster for a circus, specifically a freak show.
See Lean's one-eyed monster?
- shadowgrin
- Doesn't negotiate with terrorists. NLSC's Jefferson Davis. The Questioneer
- Posts: 23230
- Joined: Thu Dec 12, 2002 6:21 am
- Location: In your mind
![]() by shadowgrin on Mon Jun 30, 2008 8:29 pm
by shadowgrin on Mon Jun 30, 2008 8:29 pm
Pdub's hitting on you.
You're so clueless Lean.
No wonder you're experiencng weakness in your game with the ladies.
You're so clueless Lean.
No wonder you're experiencng weakness in your game with the ladies.
- shadowgrin
- Doesn't negotiate with terrorists. NLSC's Jefferson Davis. The Questioneer
- Posts: 23230
- Joined: Thu Dec 12, 2002 6:21 am
- Location: In your mind


![]() by Lean on Tue Jul 01, 2008 8:27 am
by Lean on Tue Jul 01, 2008 8:27 am
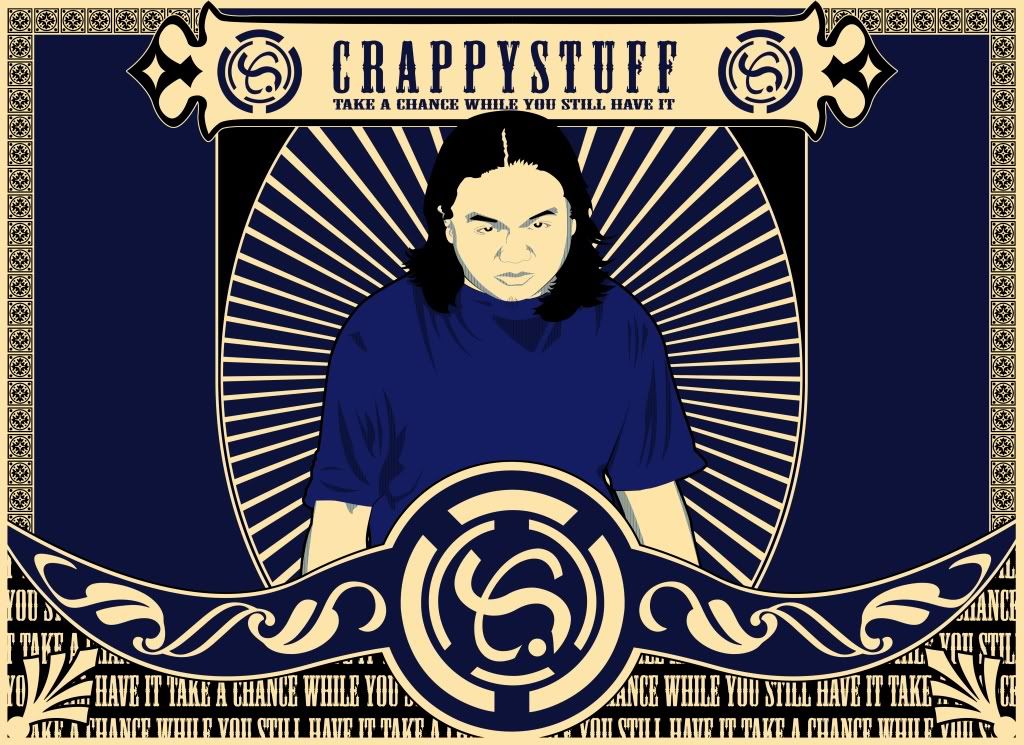
I am too young to understand. Actually that design was ripped-off from an art that my elder brother made for a local singing contest:
(pardon the resolution this poster that my brother made isn't the final version though)

(pardon the resolution
-
Lean - The Artist Formerly Known as Crappystuff
- Posts: 7775
- Joined: Mon Nov 13, 2006 8:49 pm
- Location: Pilipinas
Who is online
Users browsing this forum: No registered users and 9 guests